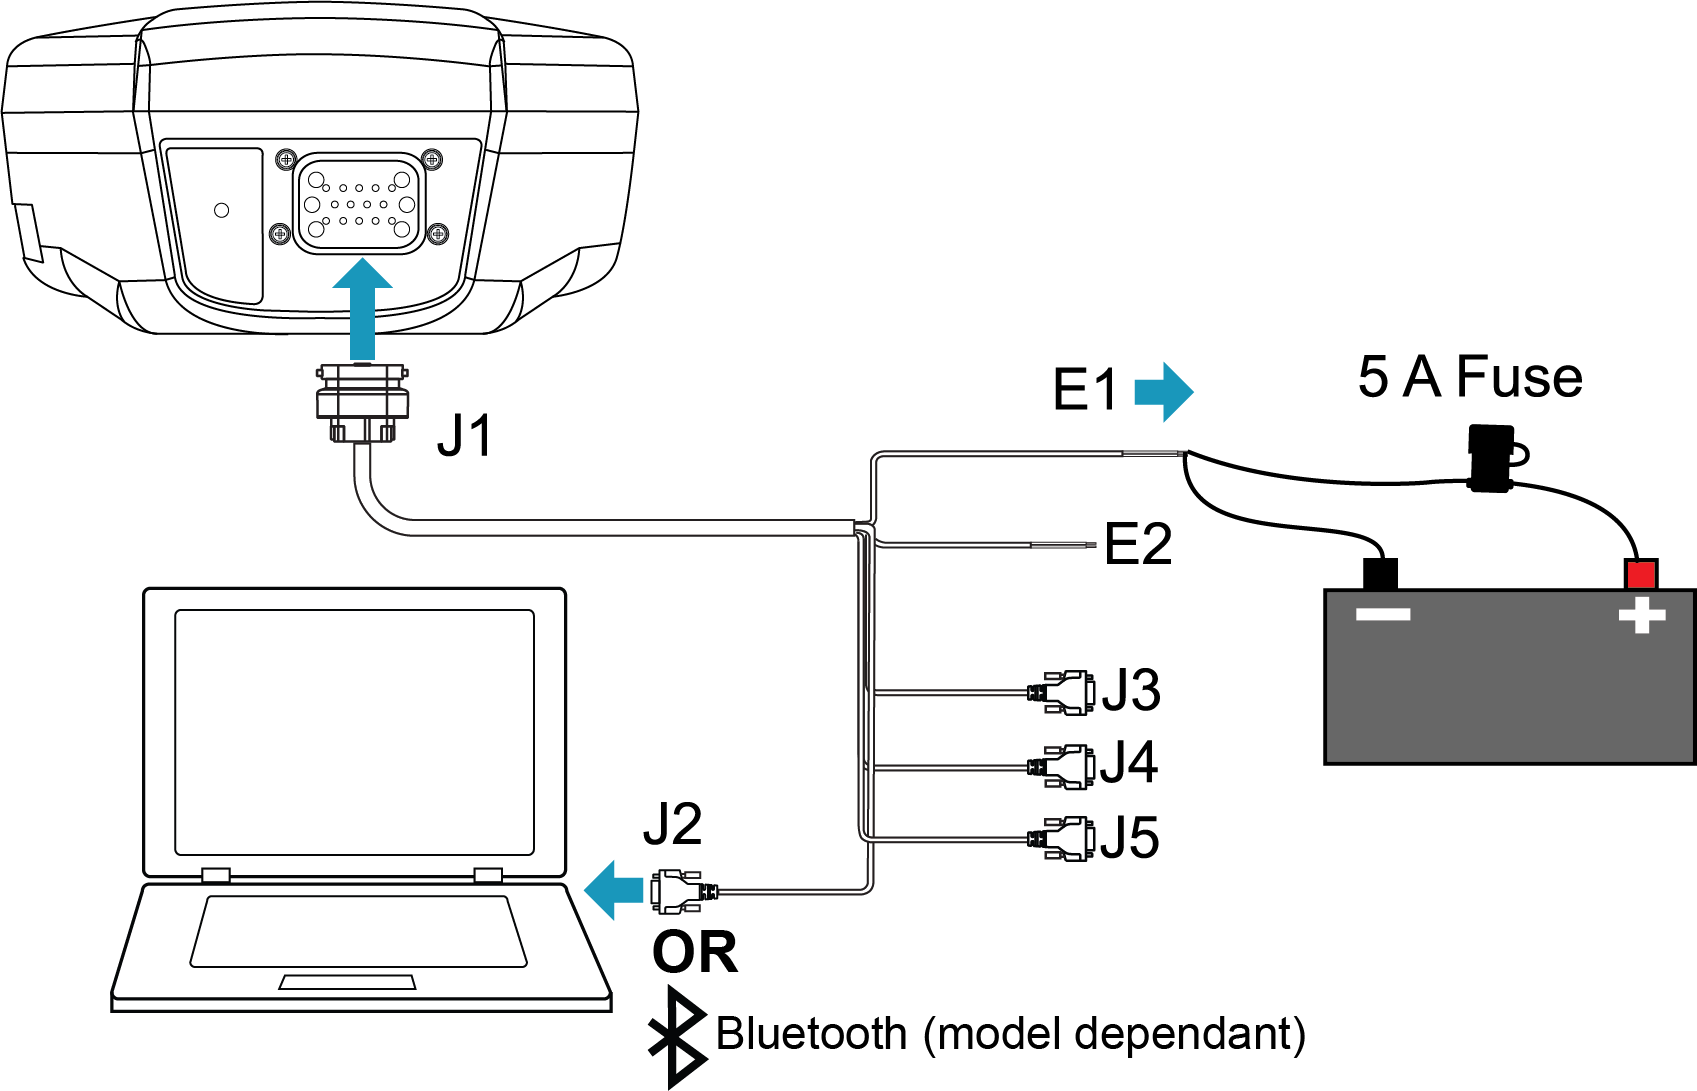
SMART2 installation
When the appropriate equipment is selected, complete the following steps to set up and begin using the SMART2.
SMART2 installation

-
Mount the SMART2 receiver. Refer to Mounting and orientating the SMART2 for mounting details.
-
Connect the NovAtel interface cable, or custom wiring harness, to the COM and Power port on the back of the SMART2 (J1). Refer to SMART2 connector overview for details of the connector. Refer to SMART Antenna interface cable (optional accessory) for cable details.
-
Connect other GNSS system components using the output lines.
-
Connect the SMART2 to other GNSS system components, such as a computer or data terminal, using the communication ports. See Connect the SMART2 to data communication equipment.
-
Connect the power leads on the interface cable to the power supply.
Ensure a 5 A slow blow fuse is incorporated in the power wiring. Refer to SMART Antenna interface cable (optional accessory) and SMART antenna additional equipment required for fuse recommendations.
See Connect power to the SMART2 and Power supply requirements for the SMART2 for details.
Refer to SMART2 LED for details of SMART2 LED states.