Attach and connect RELAY7 to SMART7
NovAtel’s RELAY7 rover radio module attaches to the SMART7 to create a single unit for easy system integration.
Before attaching the RELAY7 to the SMART7, make note of the SSID and password (passkey) found on the label on the "connector" back side of the SMART7.
Attach RELAY7 to SMART7
-
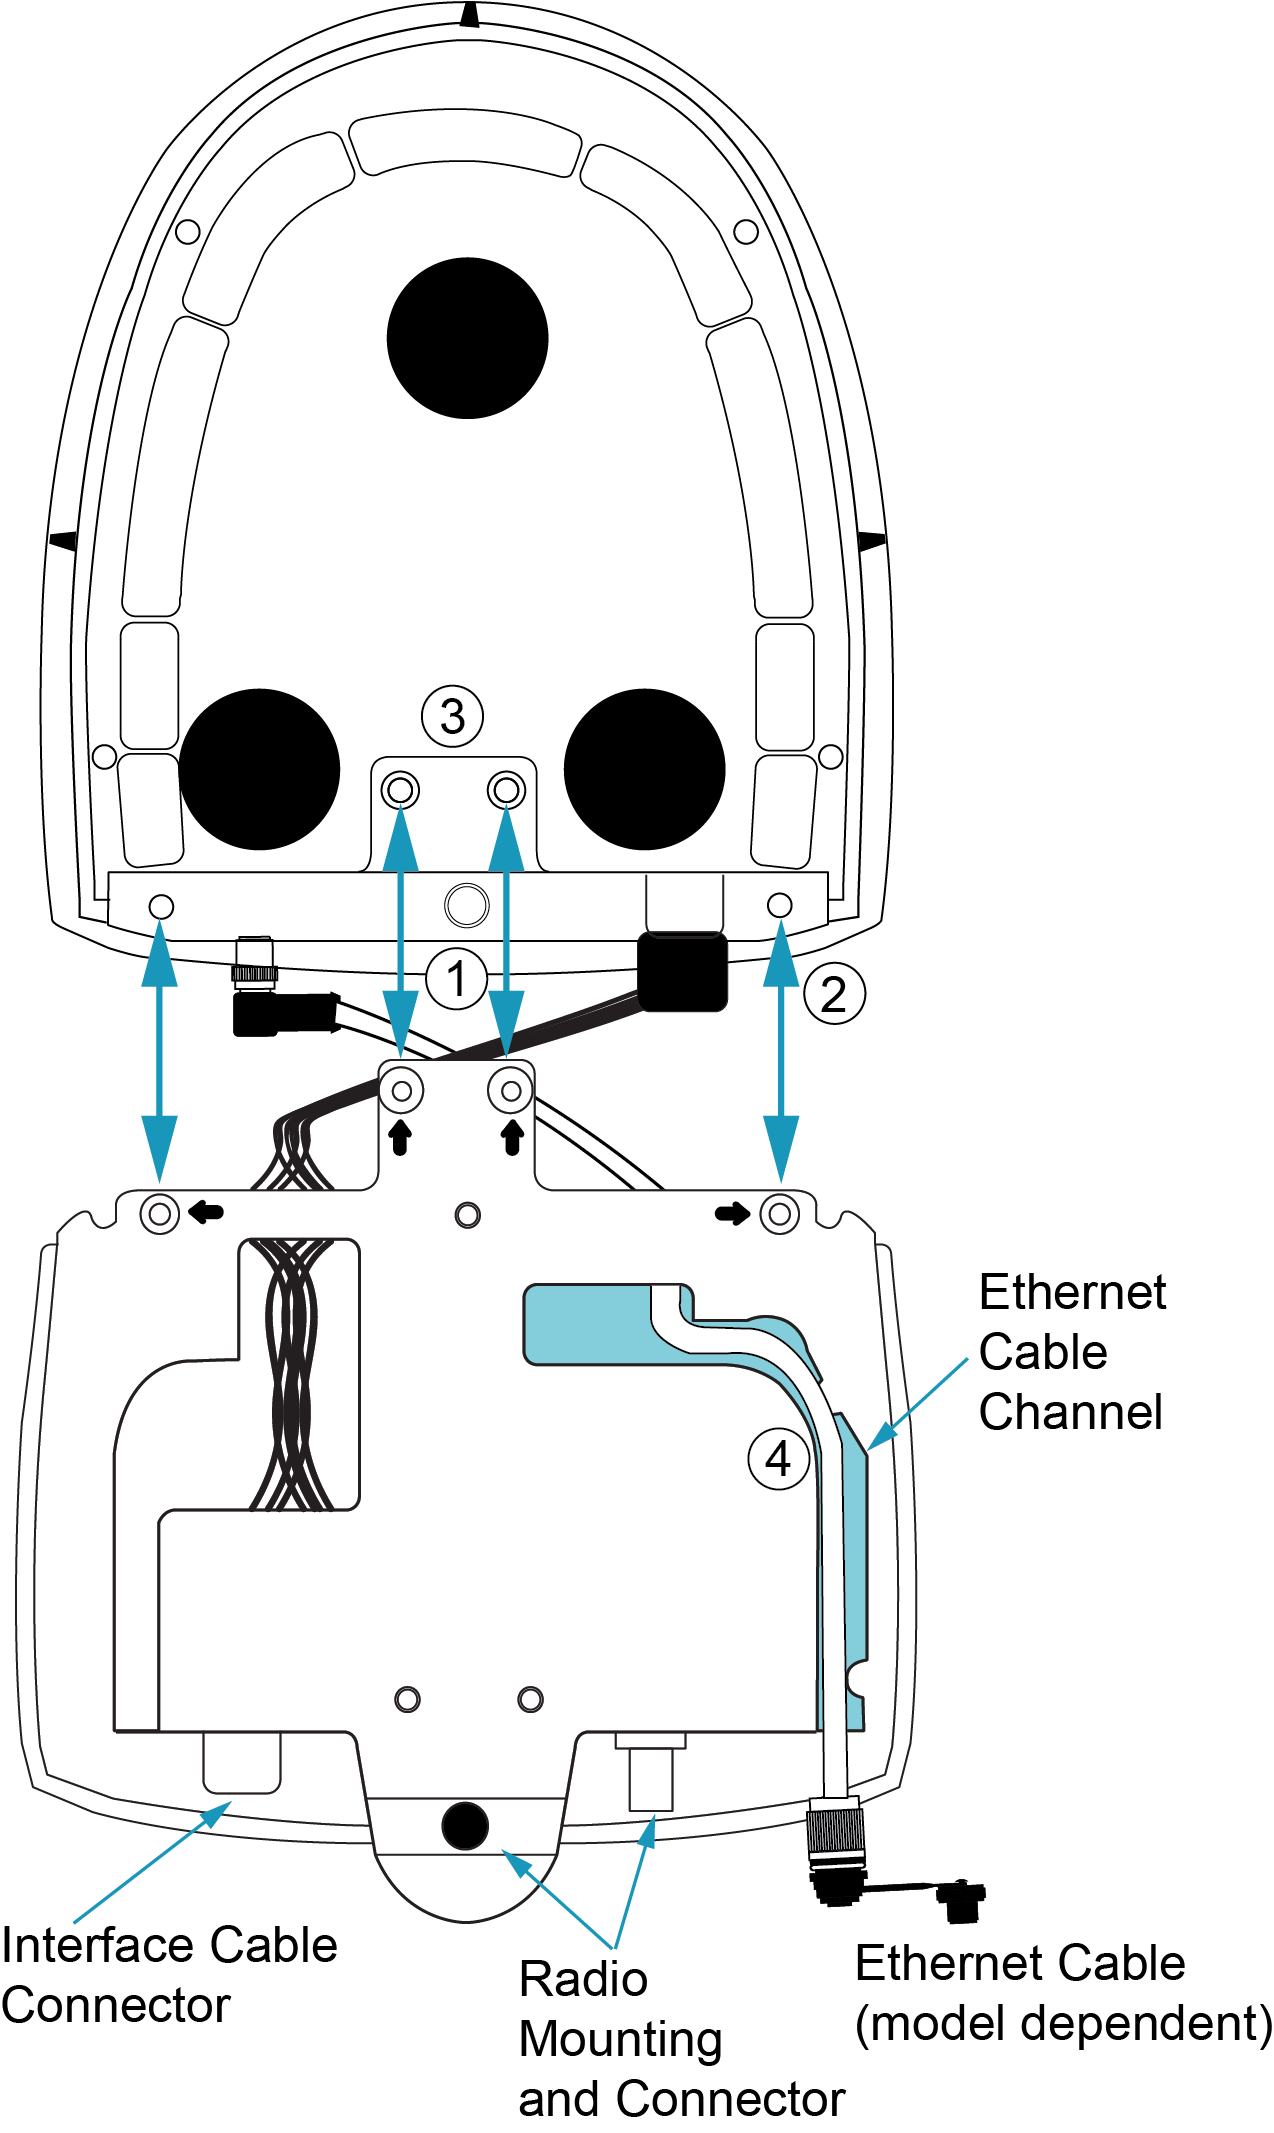
Ensure cable connections for the Ampseal interface and Ethernet (model dependent) cables are complete. Refer to RELAY7 cable routing to SMART7.
-
Tilt the RELAY7 unit slightly up and slide onto the SMART7 unit in the locations marked by the four arrows (
 ).
). -
Hand fasten the M4 screws (x4). Bit required: M2.5 Hex, torque = 10 to 12 in-lb. Failure to properly install the four screws may cause damage.
-
If using the optional Ethernet cable (NovAtel 01020095), insert the M12 Female end down and into the RELAY7 cable channel. Press cable firmly into the channel to lock in place.
Once complete, flip the combined SMART7/RELAY7 over. The optional NovAtel interface cable or the vehicle's cable attached to the navigation system can be used to connect to the RELAY7 and power the combined units. Refer to Connect the RELAY7 to the radio antenna mount for instructions. Also refer to SMART Antenna interface cable (optional accessory) for interface cable details.
To prevent damage or cable fatigue, ensure any loose cables are secured.