Triggers
When a trigger is defined, an icon is added to the Position Overview map when the receiver gets an Event input. This helps visualize where the receiver was when an Event occurred. For example, if the shutter button for a camera is tied to an event, a trigger places an icon on the Position Overview map in the location where the picture is taken.
The MARKxPOS logs must be configured on the receiver before they are used as Event Triggers. For information about configuring the MARKxPOS logs, refer to the OEM7 User Documentation Portal (docs.novatel.com/OEM7/Content/Logs/MARKxPOS.htm and docs.novatel.com/OEM7/Content/Commands/MARKCONTROL.htm).
The Triggers window allows you to view, add, delete and edit triggers. To open the Triggers window, click the Settings menu, select Map and then Triggers.
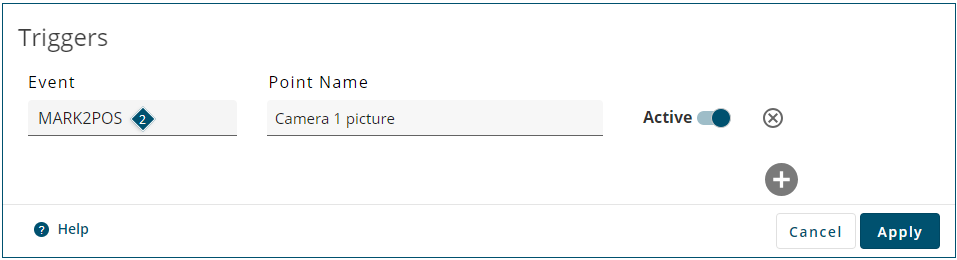
Event
Displays the event log used to record the time and position when the event occurred. This field also shows the icon that appears on the Point of View map.
Point Name
Name of the trigger.
Active
When the Active button is enabled  )
)
When the Active button is disabled  )
)
To add a trigger:
-
Click the Add button
 )
)A new, empty trigger is added.
-
Click the Event field and select the log for the event.
This parameter shows only logs valid for the receiver.
-
Click the Point Name field and enter a name for this trigger.
-
Enable the Active button
)Disable the Active button
) -
Click the Apply button.
To delete a trigger:
-
Click the Delete icon
 )
)